March 2022 - June 2022
Designing Model Rockets
This miniature rocket was a project from an Engineering Design class I took during the end of my first year at UCLA. This project involved using SolidWorks and OpenRocket alongside other manufacturing techniques detailed below.
3DPR | 3D Printed Rocket
OpenRocket
For our project, we initially made a 3D printed rocket. Here, we learned how to use OpenRocket to optimize our apogee while maintaining a stability above 1.4 cal.
Our stability was 1.74 cal, and our apogee was 48.9 m.
Our final OpenRocket design was as follows, and we used this to dimension our final CAD models, which we then printed.
Nose Cone
We used a hack series for our nose cone, as it optimized apogee in our OpenRocket. The parachute was tied to an inbuilt bar in the nose cone, and stuffed in the nose cone.
Body Tube
I split our rocket's body tube into 2 sections. The bottom half had an inbuilt motor mount dimensioned to fit an Estes A8-3 motor. The two parts were dimensioned to slot into each other.
Challenges & Launch
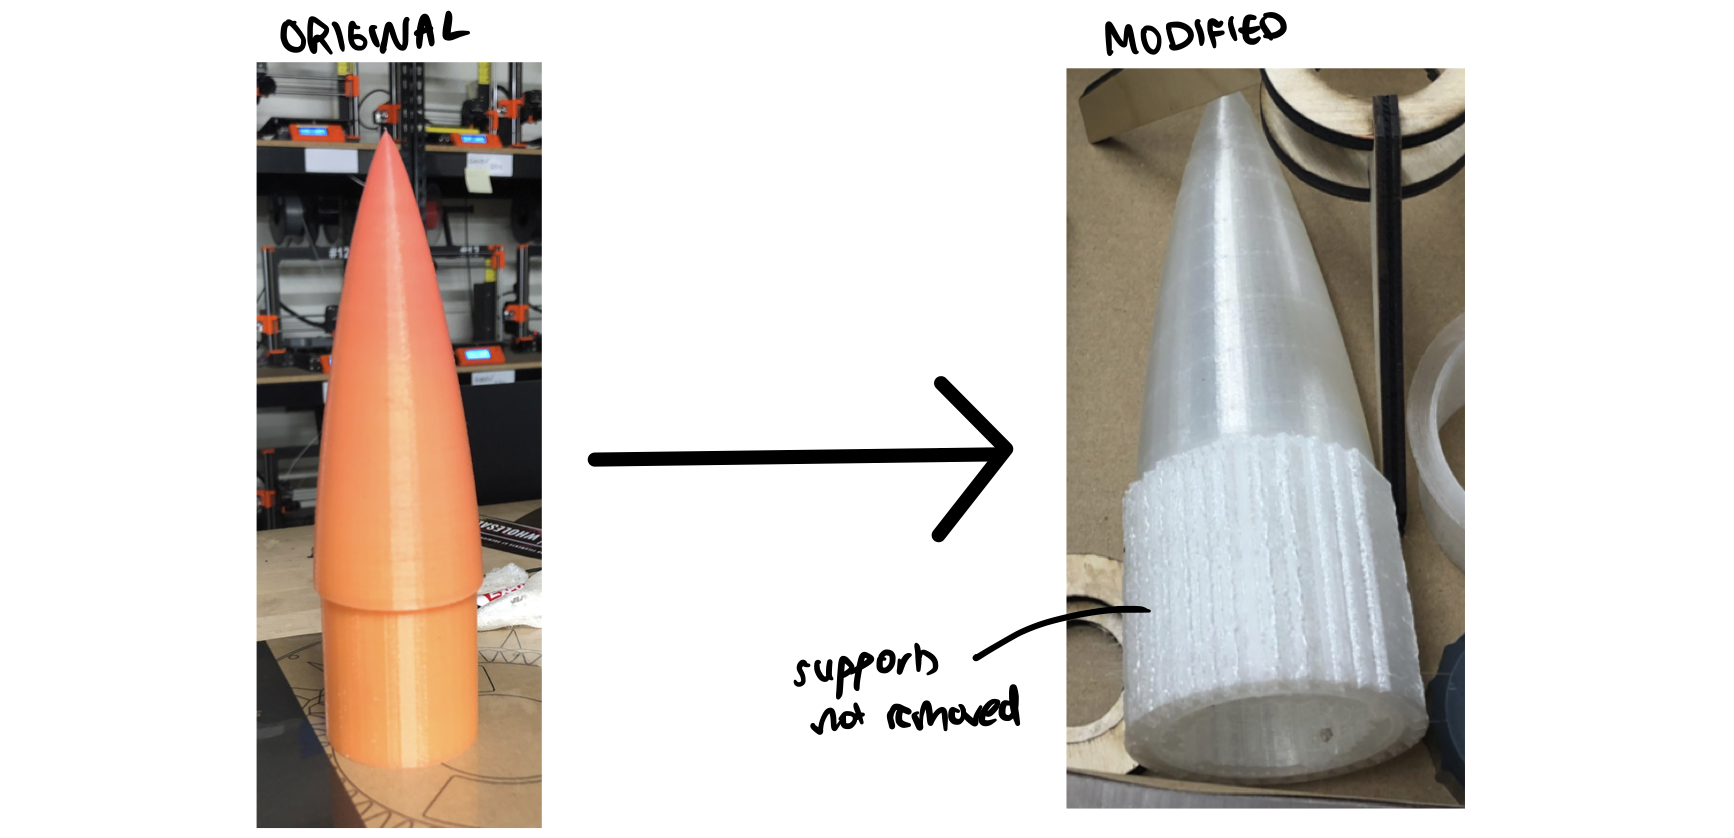
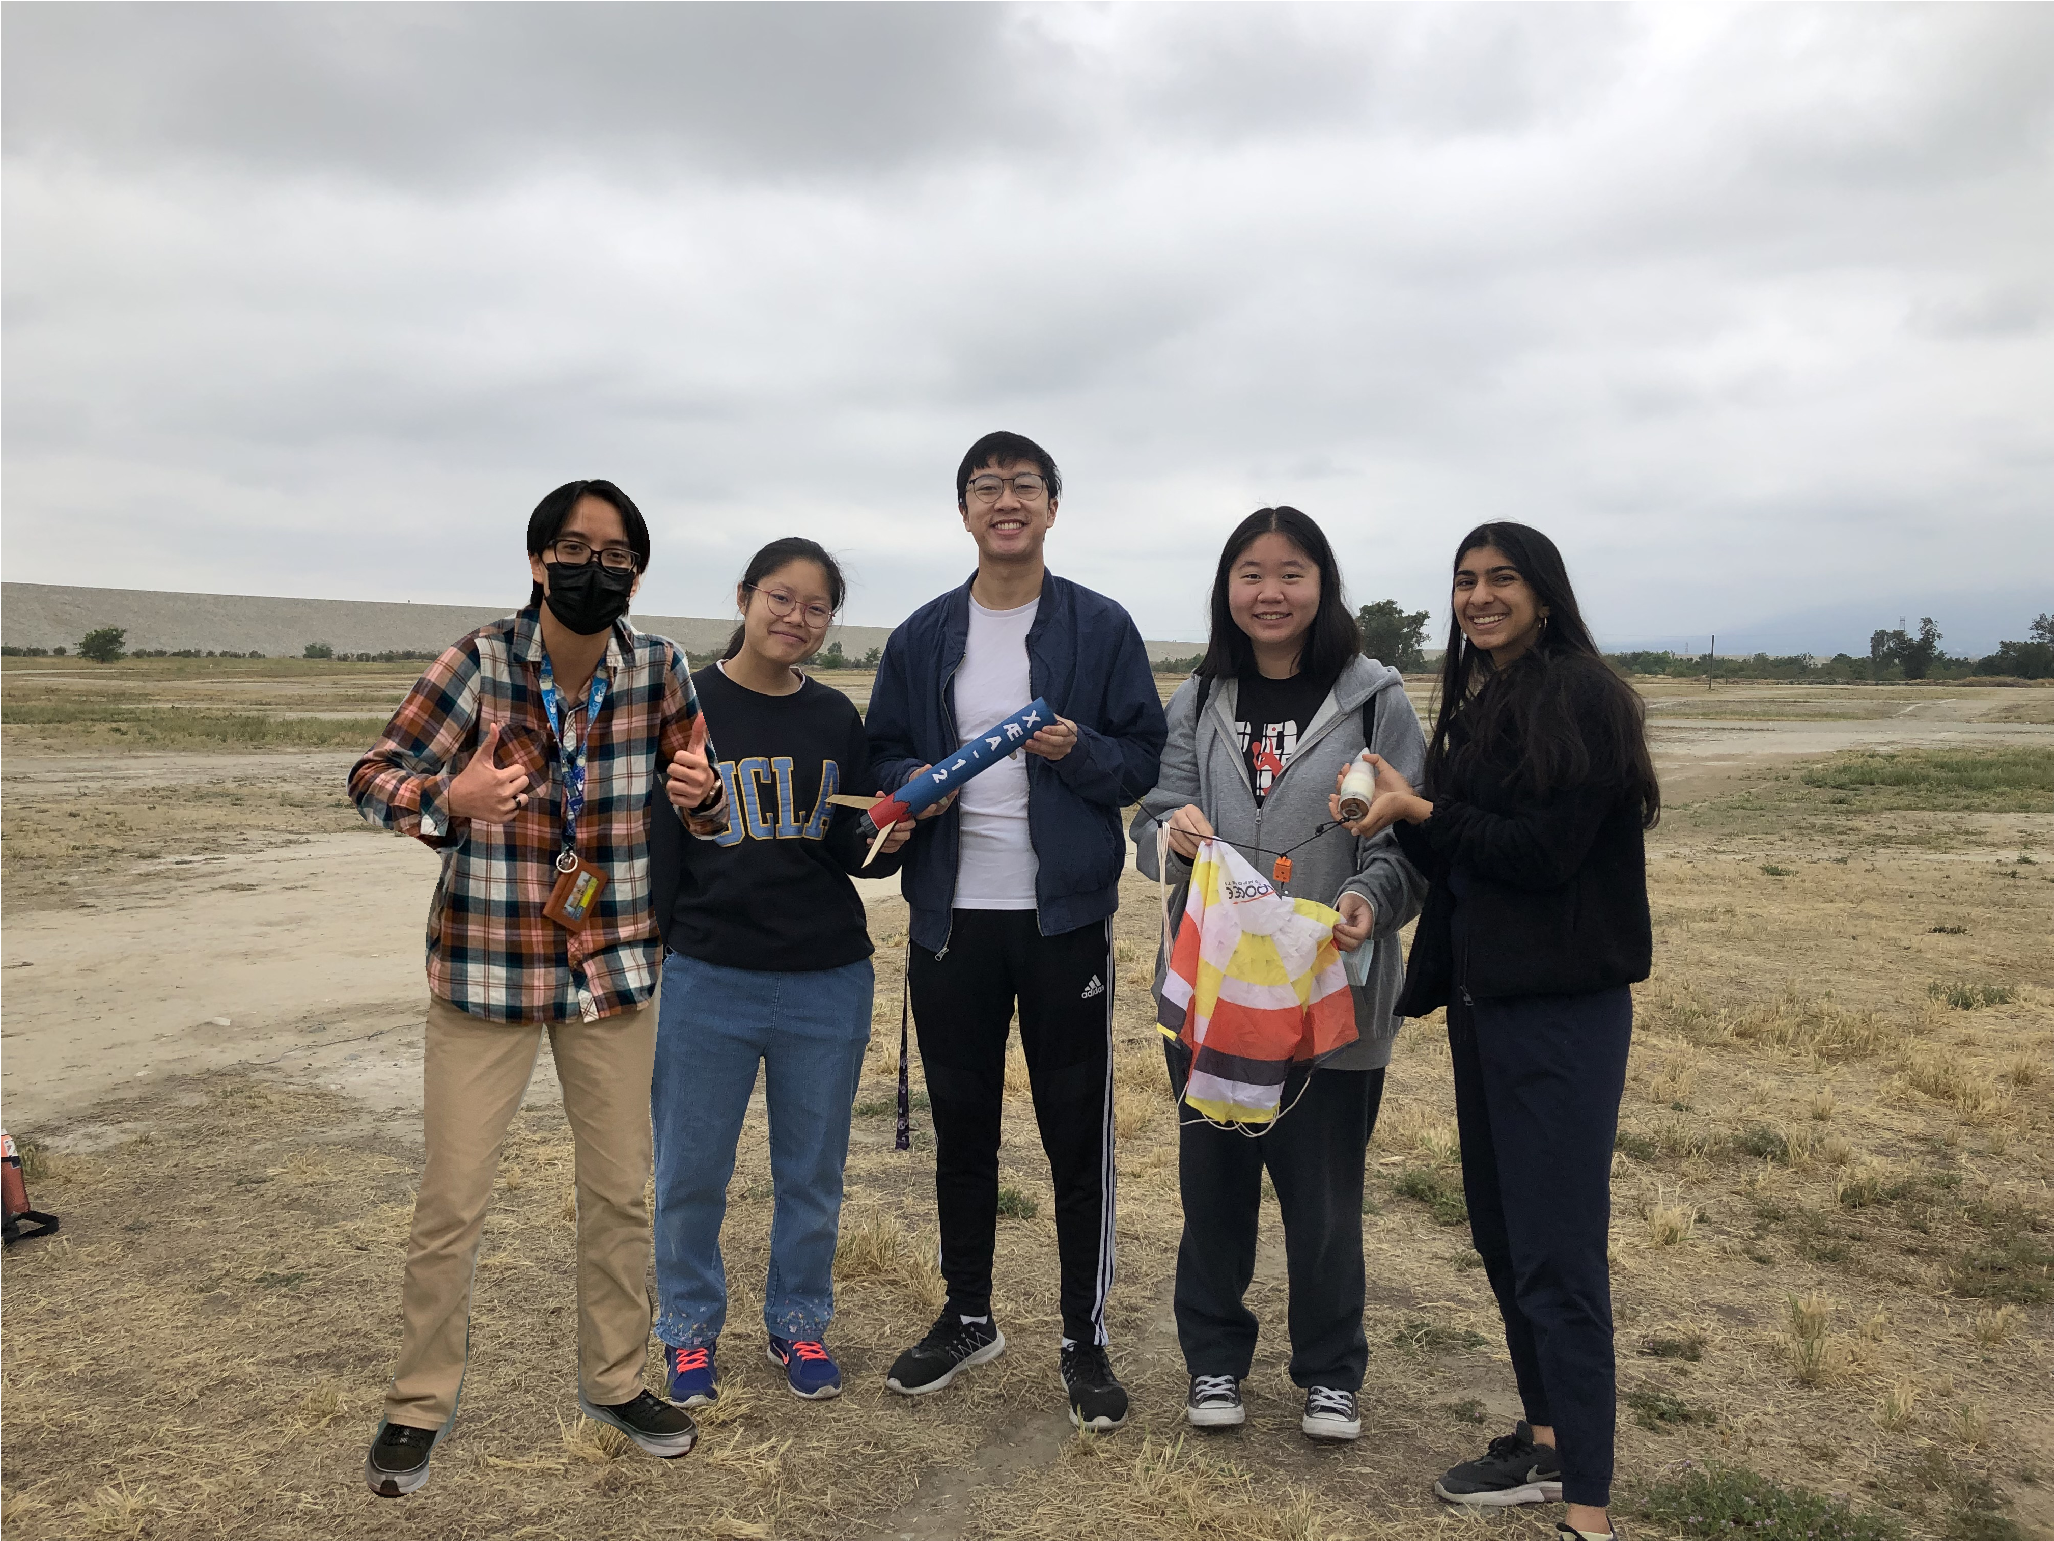
When it came to actually 3D printing our components, we realized that it would make more sense to print the 2 body tubes as 1 so epoxy or superglue would not be necessary to attach the body tubes together. During our launch, we lost our body tube and its parachute, however, our rocket had good stability and had one of the highest apogees of that day. Here's a short video of our launch!
GHPR | Group High Powered Rocket
Our experience with our 3DPR gave us needed experience for our bigger Group High Powered Rocket. Here, our rocket would have a much larger apogee, use more powerful motors, require more components, and more manufacturing techniques.
Objectives
Design
SolidWorks and Egg Housing
Parts
Nose Cone (designed using a hack series)
Body Tube
Fins
Fin can
The dimensions for all these parts were optimized using OpenRocket simulations
Assembly
We assembled all the pieces together initially on solidworks to ensure we had dimensioned everything properly, and here we used the optimal dimensions we found from OpenRocket to assemble everything together.
Egg Housing
Manufacturing
Body Tube and Nose Cone
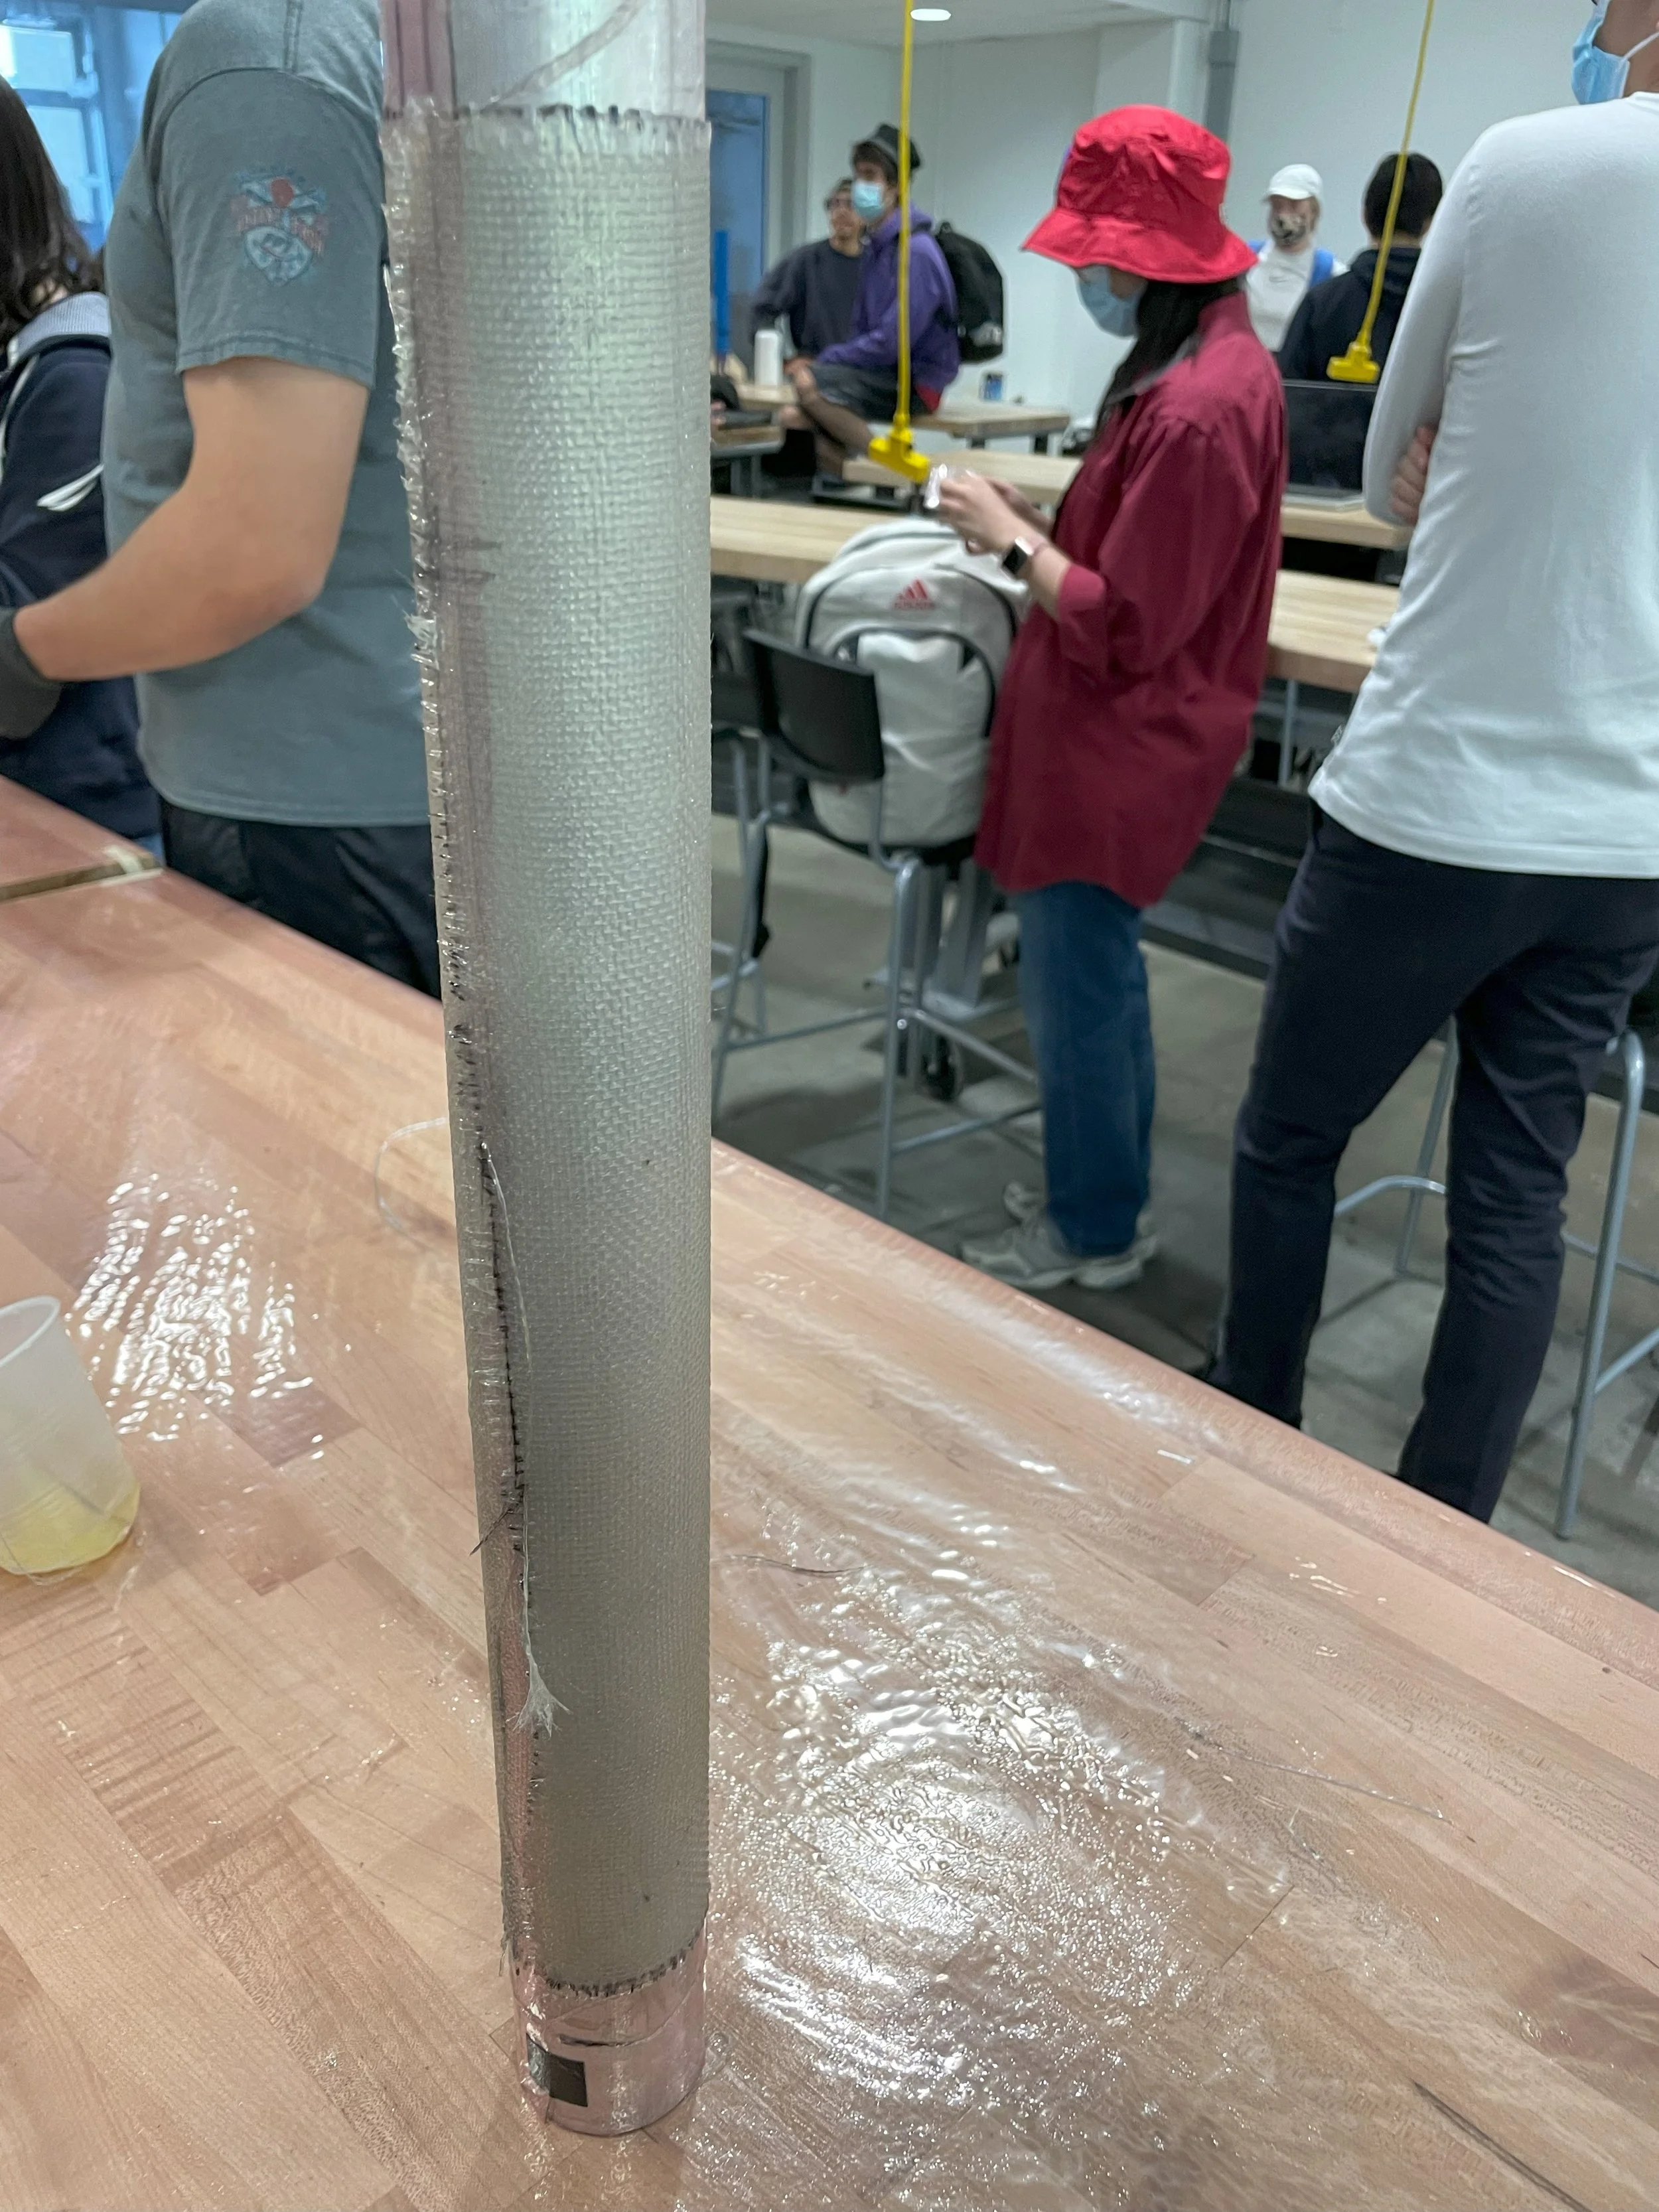
We decided to make our body tube out of fiberglass as it would be sturdier than PLA, and was less expensive than carbon fiber. We did our fiberglass layup with epoxy on a mandrill, and after letting it cure, we removed it and used a dremel rotatory tool to cut it to our desired length. We then sanded down the top layer of our fiberglass to improve its aerodynamics. We also used the dremel to cut out 3 slots for our fins.
We decided to 3D print our nose cone as it was the most efficient way we could get our nose cone to match the series parabola we designed, and iterate our designs if necessary.
Fins, Bulk Heads, Centering Rings
We laser cut our fins out of wood as it was the most efficient way to cut our fins and ensure they were uniform and also let us easily iterate our designs if necessary. Similarly, we laser cut our bulkheads and centering rings out of wood.
Have a stability between 1.25 and 2.5
Carry an altimeter and raw egg and recover it undamaged
Create and use a control box for launch
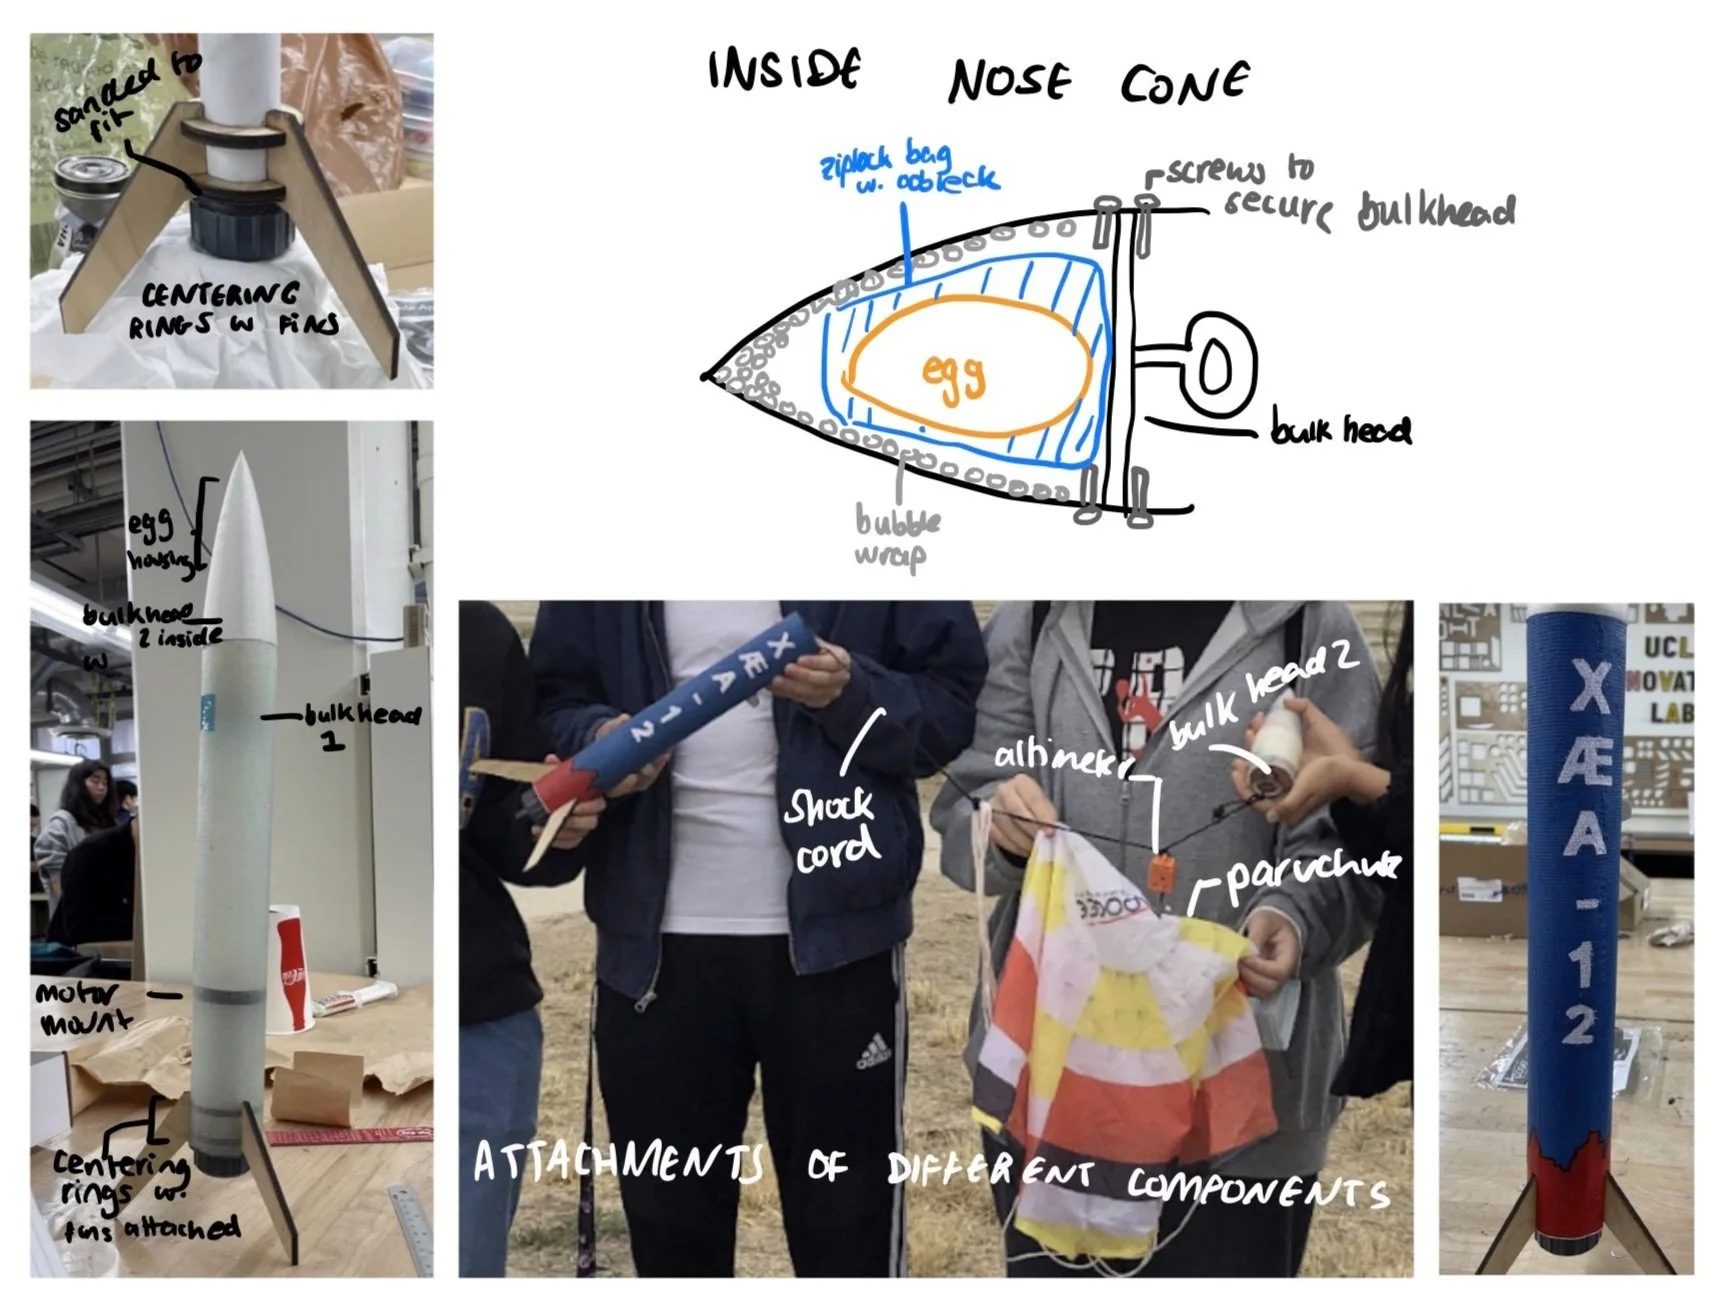
For our egg housing, we decided to coat the egg with a non-newtonian fluid created by a mixture of cornstarch and water (oobleck). Non-newtonian fluids work such that when there is little pressure acting on an object, it will behave as a liquid, but at large pressures, it will act as a solid. We decided that this would help protect the egg as when the rocket would fall back to the ground, the fluid would act more like a solid and minimize the impact on the egg. We carried this out by making the mixture in a Ziplock bag, adding the egg, and securing the ziplock bag into our nosecone.
We also decided we would cover the inside of our nose cone with bubble wrap to further minimize potential damage to the egg.
Control Box
For our control box, we followed the diagram shown, and had this electronically connected to our rocket to trigger its launch on launch day.
Assembly & Aesthetics
To assemble all our components together, we started off by attaching our fins onto the centering rings, epoxying the centering rings onto our motors, epoxying our motor mount to the top of the motor, and then epoxying the outside of the centering rings onto the body tube. We also epoxied one of our bulkheads to the top of the body tube.
To attach the body tube to our nose cone, we used another bulkhead, which would be removable. The shock cord attached the two bulkheads on the nose cone and body tube together. The removable bulkhead was secured with screws on either side of the nose cone that encased the bulkhead.
We covered the nose cone with bubble wrap for the egg. The egg in the ziplock bag mixture of oobleck was placed on top of the screws and bulkhead in our nosecone. Our altimeter and parachute were both attached to the shock cord.
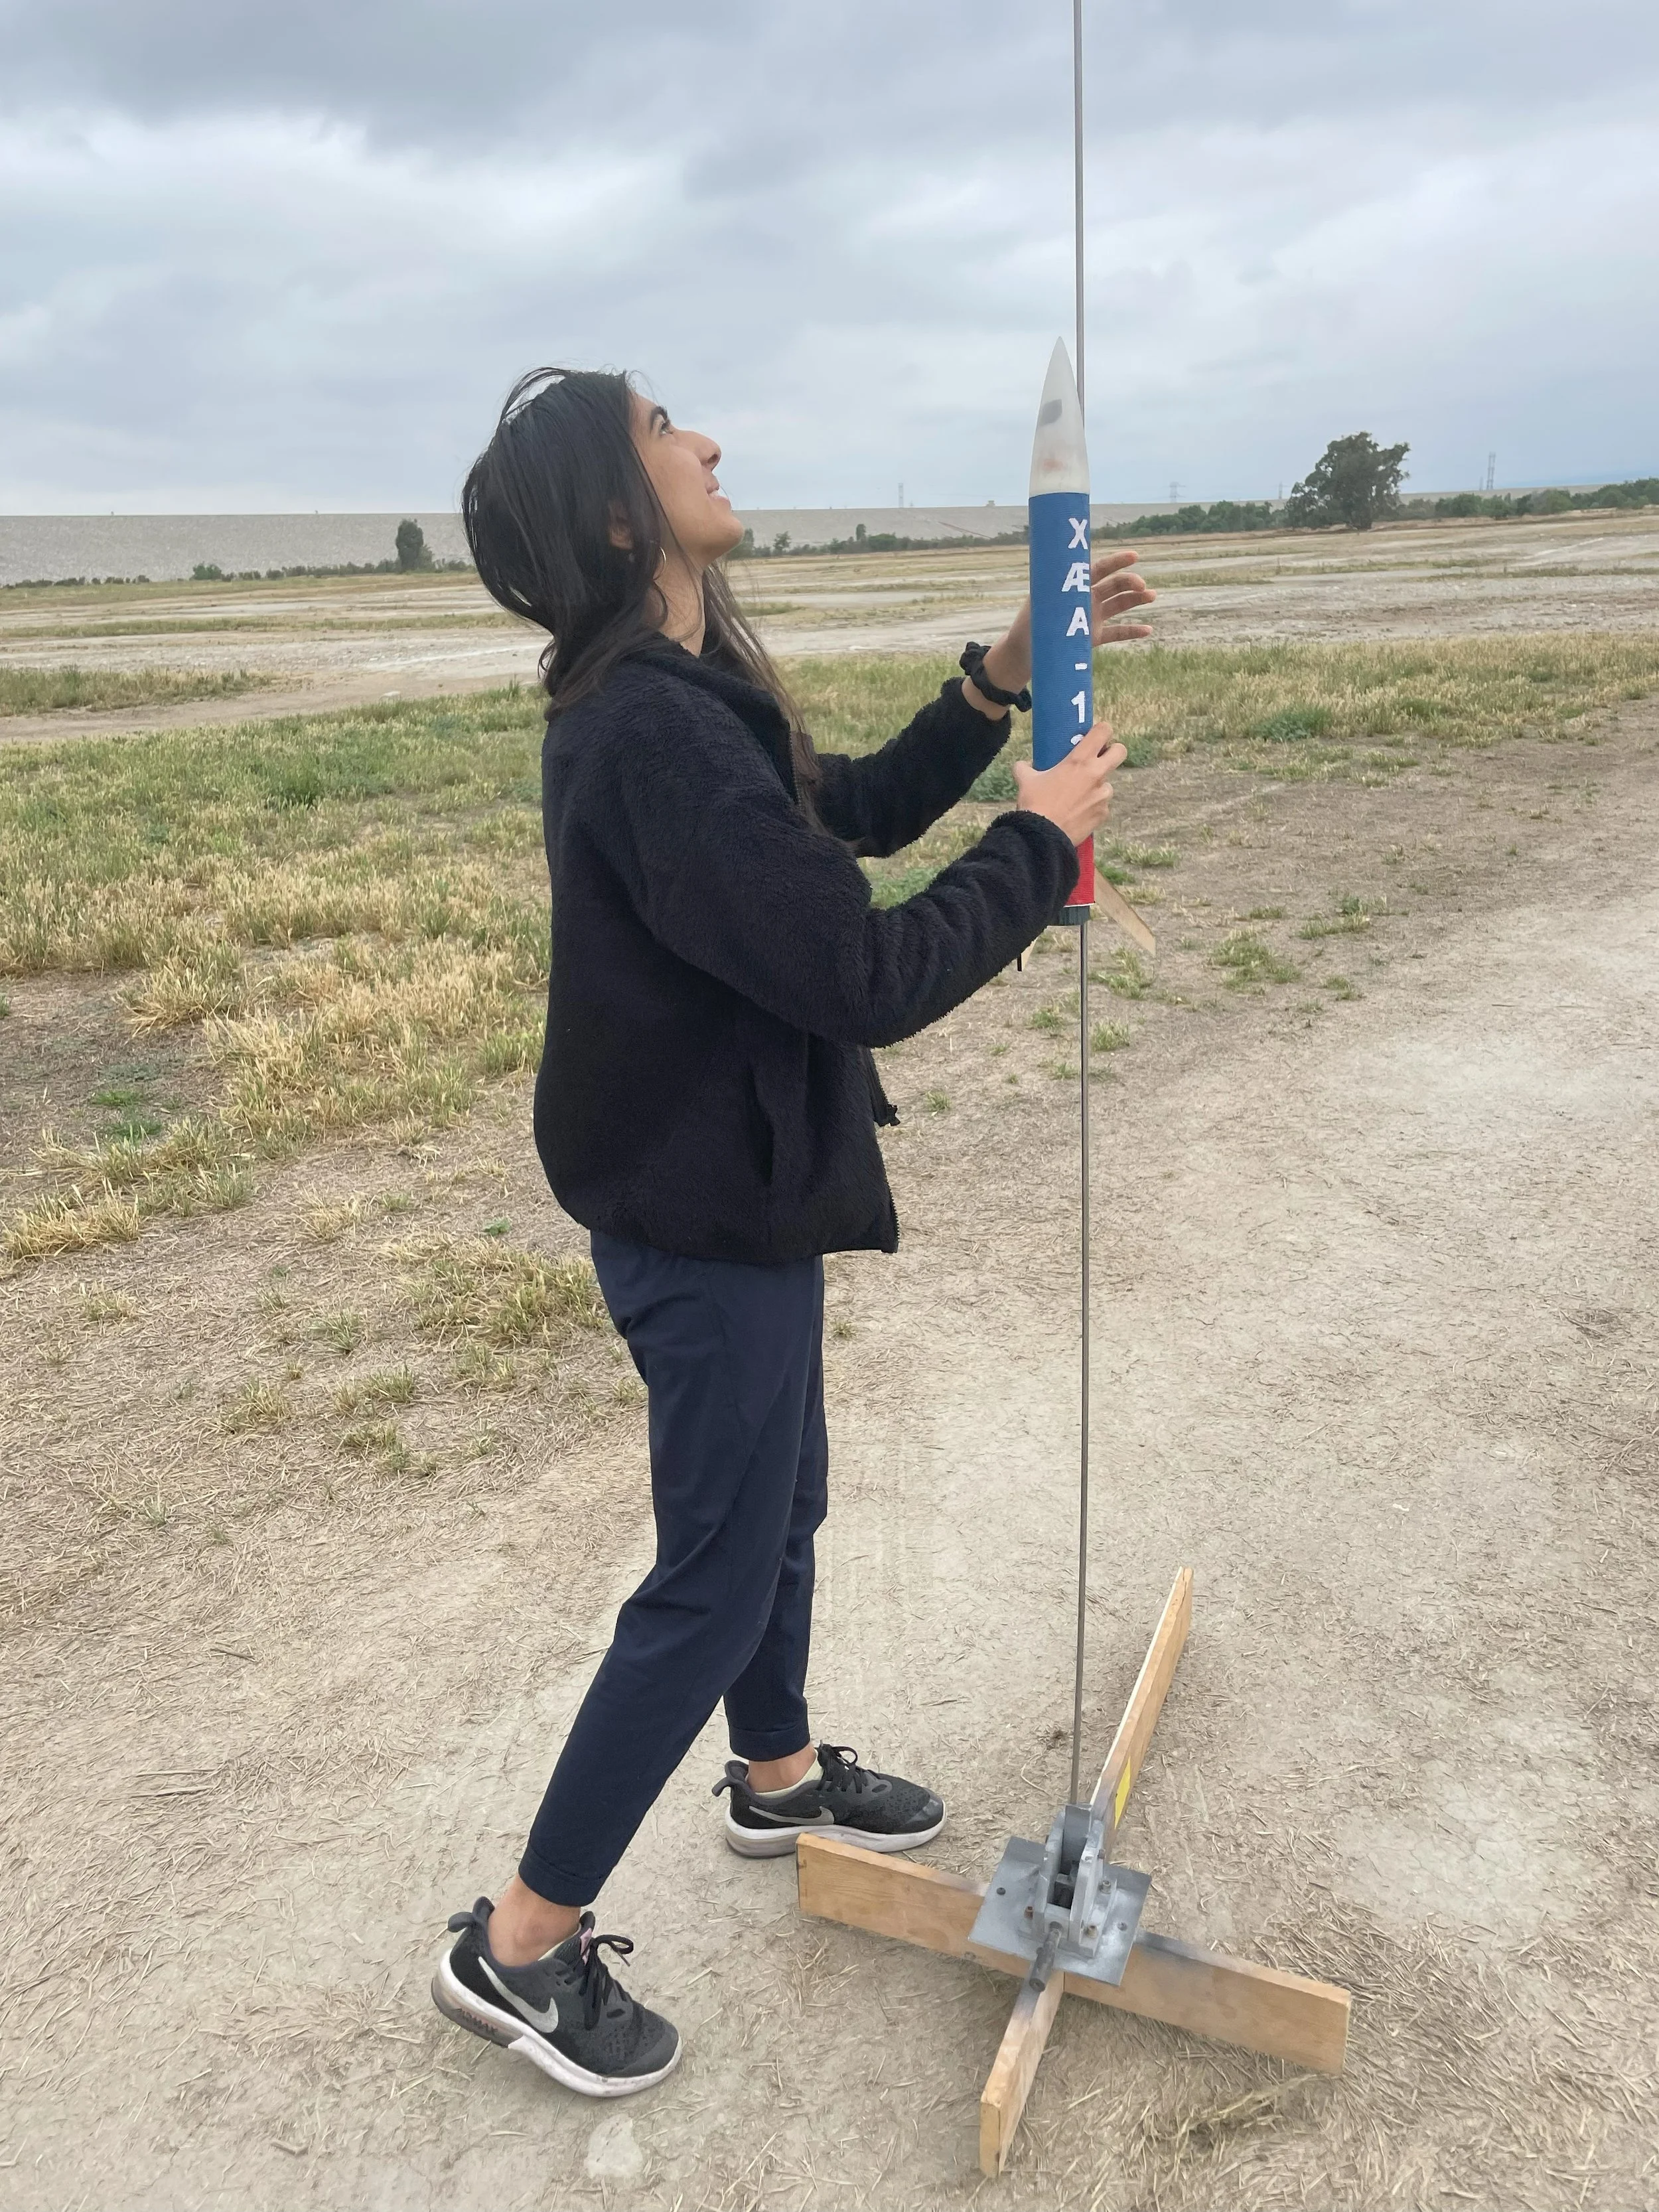
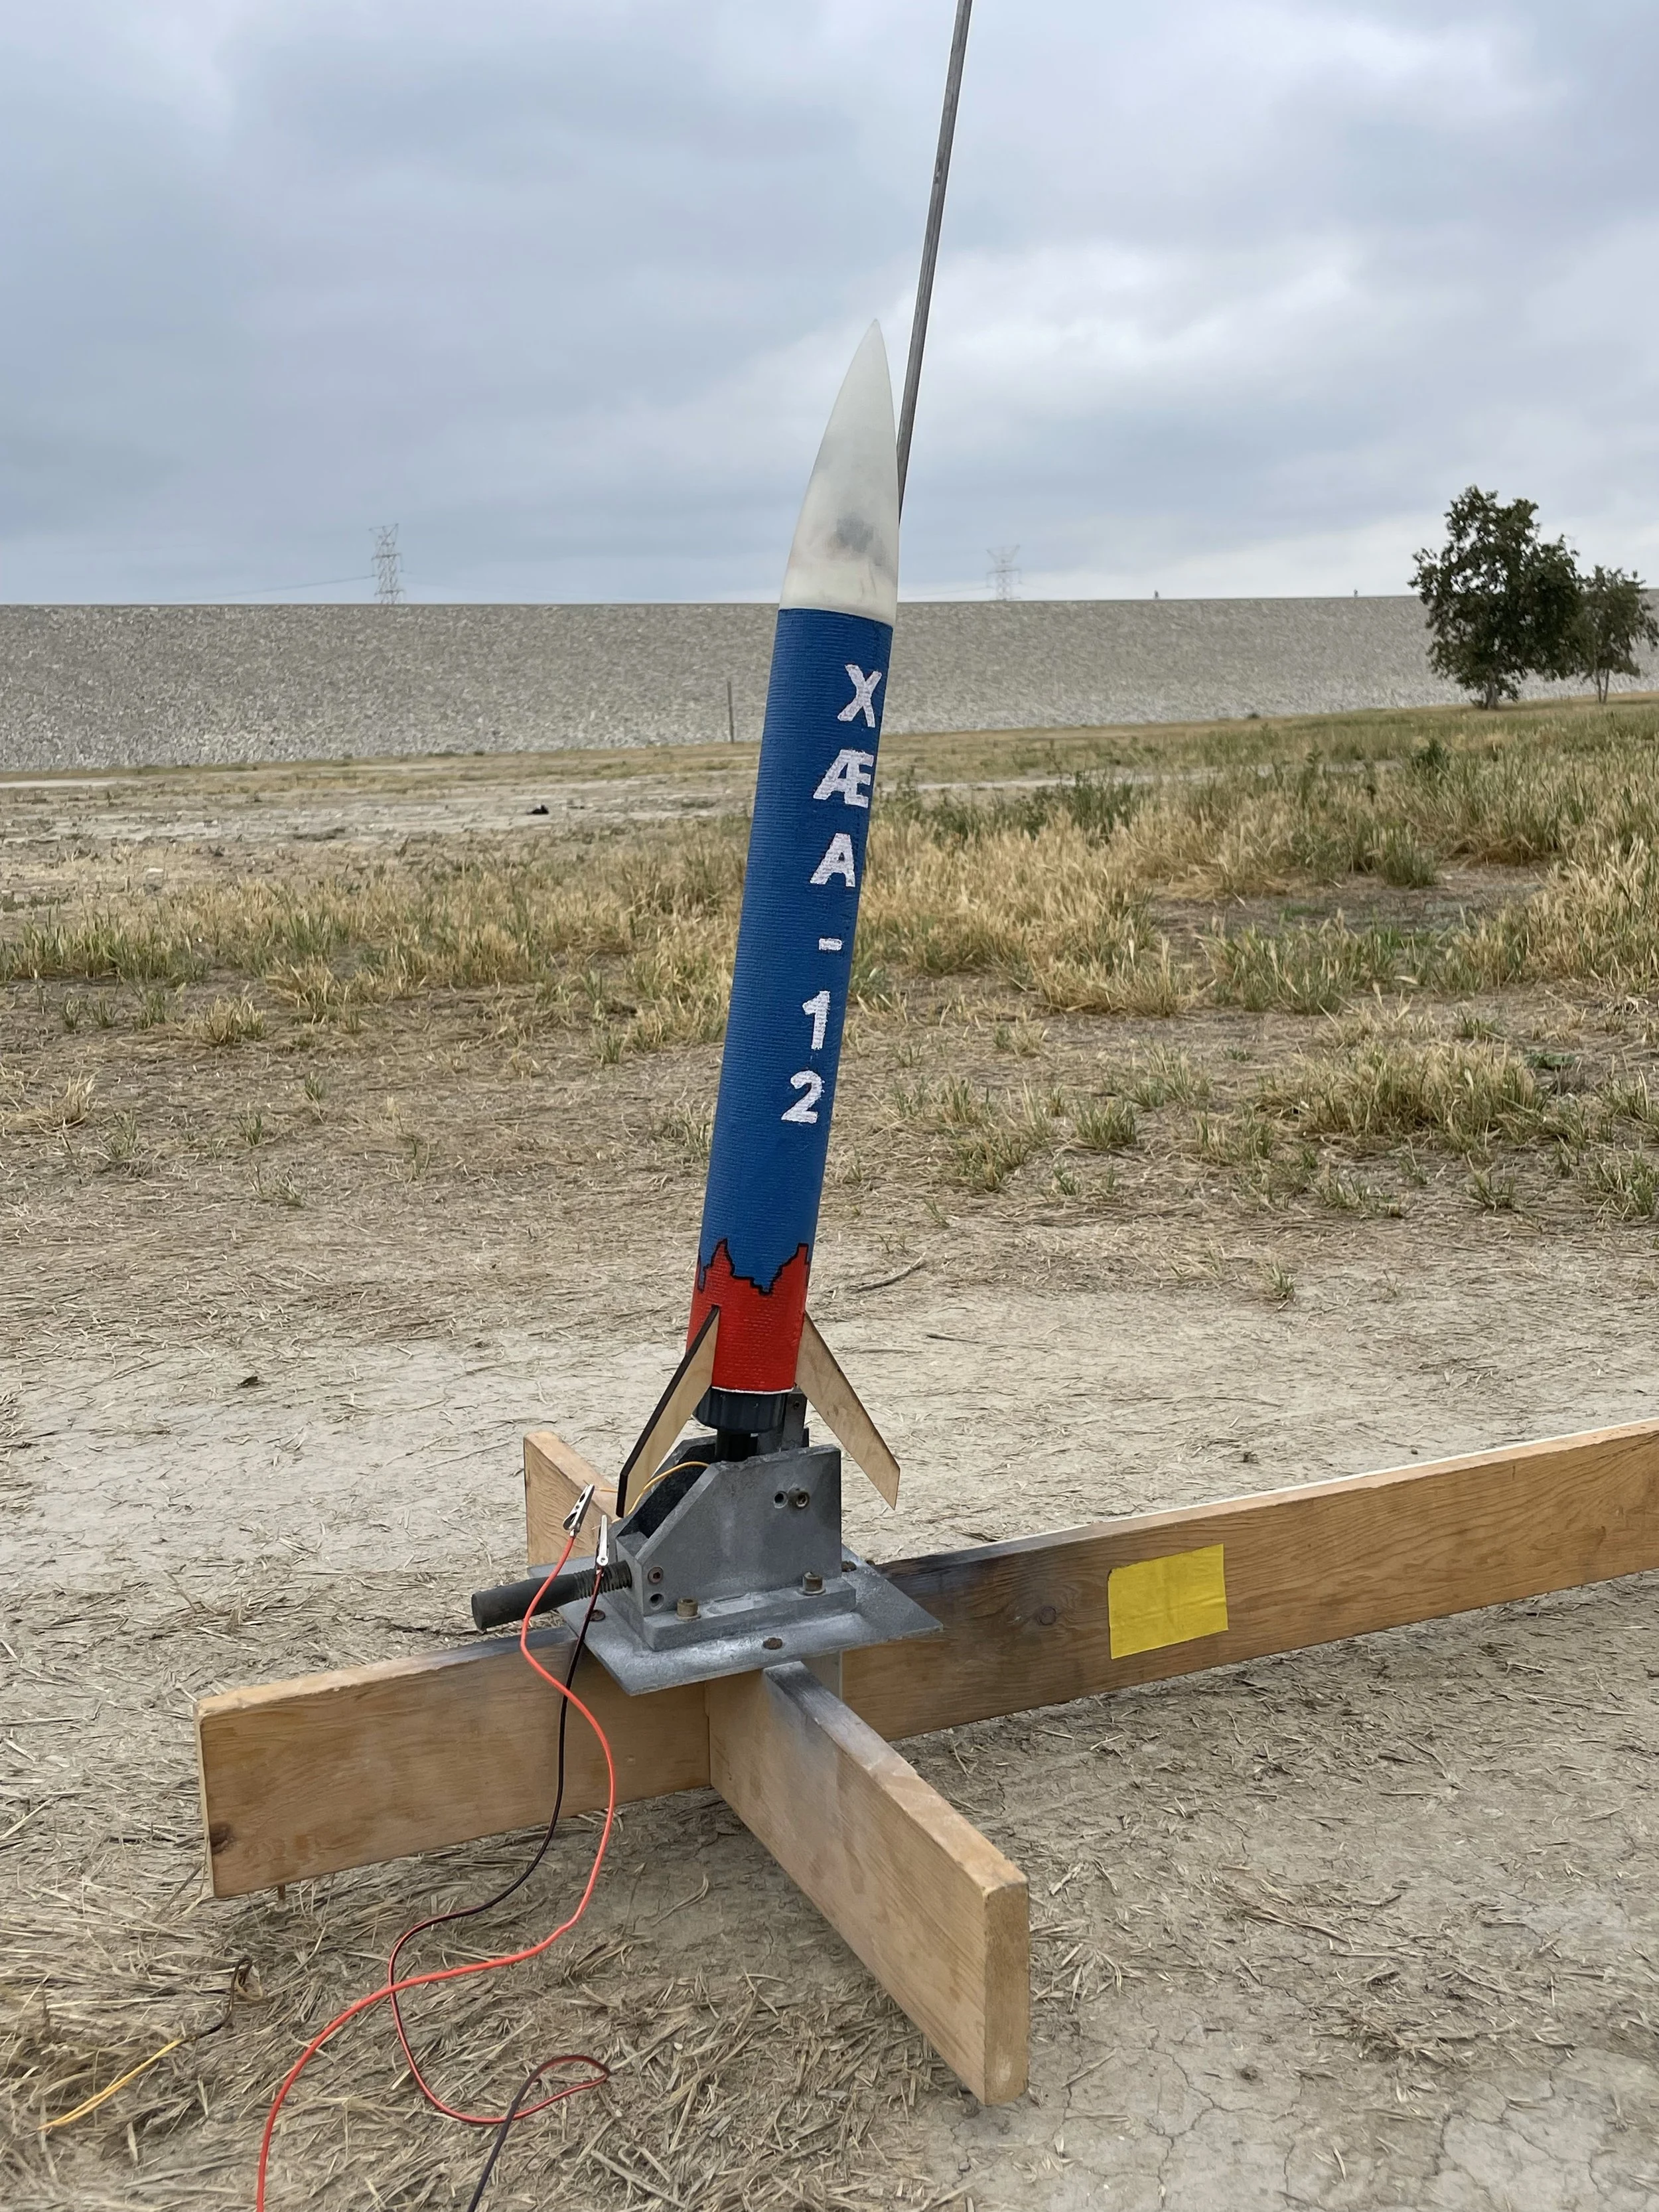
And, of course, we also wanted our rocket to look pretty. We spray-painted our rocket with blue spray paint and used a sticker cutter machine to create a stencil for our group's name to be spray-painted on. Similarly, we made a stencil for some flames to go on the bottom of our rocket and went over all our designs with a white marker. The spray paint also gave our body tube an even layer of paint, hence also helping aerodynamically.
Design Challenges
In our OpenRocket design, while our apogee was quite high and desirable, our stability was a concern. While we tried to make adjustments to our OpenRocket design to improve stability, drastic improvements in our stability would result in enormous decreases in our apogee. Thus, we decided to make adjustments in manufacturing that would help with stability, which we couldn't account for in our open rocket, such as the addition of our oobleck fluid, egg, and screws in the nosecone, which would increase the distance of the center of gravity from the center of pressure.
While designing our nosecone, we realized that our initial design was too small to fit our egg. However, as we decided to 3D print our nosecone, it was fairly simple to adjust our design on SolidWorks and reprint it.
Prior to epoxying our fins into the centering rings, we realized that it interfered with the bottom screw of our motor, and would therefore not insert properly into our centering rings. The choice of wood for our fins was thus helpful, as we were able to solve this by sanding down the edges with a belt sander, using trial and error until it successfully fit into the centering rings. The sections we sanded were all inside the rocket, so it did not affect any of the aerodynamics of our rocket.
Our design choice of using screws to create a way to remove our bulkhead from the nosecone also proved to be a challenge as the screws were too thick to fit into the give between the nosecone and the rocket. We decided to sand down the screws until they would fit into the rocket, however, this did prove a challenge as screws were hard to sand using a belt sander.
Launch Day + Conclusion
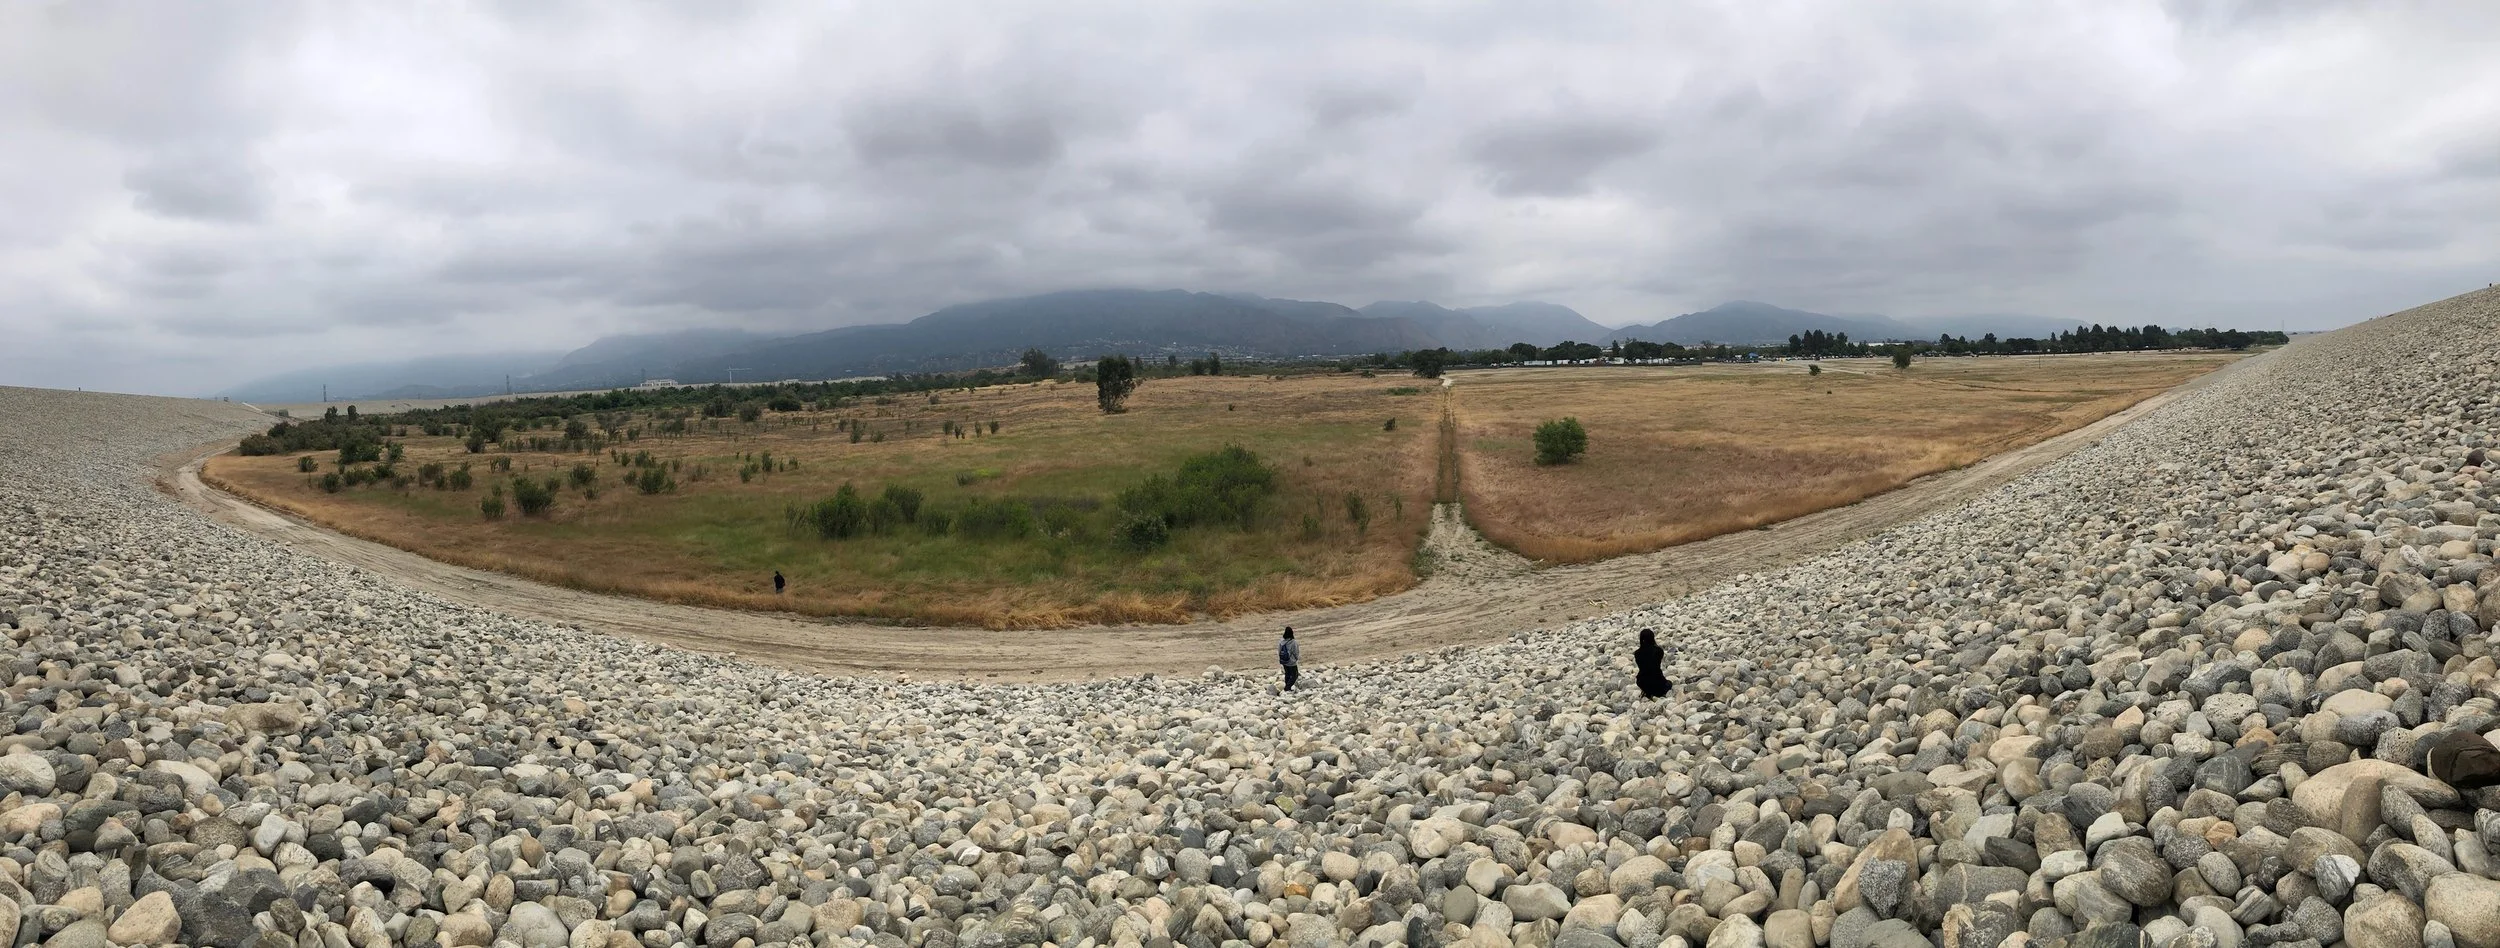
During launch day, we were glad to see that the manufacturing adjustments we made to our rocket actually resulted in a pretty stable launch. Our rocket maintained its trajectory well, reacbing one of the higher apogees of that day. However, it was also cloudy that day and we lost sight of our rocket while it was still ascending, and never saw it come down. While we tried searching for it for about 2 hours (we even climbed a dam to try searching for it), it was nowhere to be seen. Unfortunately, this meant that we were unsure about whether the parachute deployed, or whether the egg survived, and we were unable to access the data from our altimeter on how fast and how high up it went. In the future, I would try installing some type of GPS device to get a better idea of where the rocket might be.
Overall, this project taught me so much about manufacturing and design. Going into this project, I had a little experience with SolidWorks, 3D printing, and laser cutting, but I had never used OpenRocket, performed a fiberglass layup, used a Dremel, and so on. I also learnt how to run simulations on OpenRocket, and learnt about all the different components in a rocket and how they work together. As one of my first projects at UCLA, I feel proud of the final result of our rocket, even if I'll probably never see the lost rocket ever again.


